© 2015 themeglobal.com
made with the Documenter v1.6
made with the Documenter v1.6
Before installing the SuperStar theme, it is assumed that you have a working OpenCart installation.
We recommend to use this theme on a clean installation or existing shops without custom modifications.
IMPORTANT! Although SuperStar doesn't overwrite any core files is a good practice to backup your files and sql database before making any upgrades or changes.
1Install VQMOD
This template requires VQMOD.
If you already have VQMOD skip this step. Otherwise, get the latest release here Download VQMOD.
Follow the instructions how to install VQMOD on OpenCart.
2Upload theme files
Unzip the "tg_superstar_x.x.x.x_version_x.x.zip " you have downloaded from ThemeGlobal.com to a local folder on your computer. Enter the tg_superstar_x.x.x.x_version_x.x folder.
Select the folder that matches to your OpenCart version and upload all the files from "OpenCart x.x.x.x" to the directory you have installed OpenCart in.
The instruction how to configures the template to look like the DEMO SITE
We recommend to use this theme on a clean installation or existing shops without custom modifications.
IMPORTANT! Although SuperStar doesn't overwrite any core files is a good practice to backup your files and sql database before making any upgrades or changes.
1Enable TG SUPERSTAR SETTINGS
Go to Admin > Extensions > Modules
Find a module name TG SUPERSTAR SETTINGS click on Install.
2 IMPORTANT! Install Template System Files
After installing the TG SUPERSTAR SETTINGS go to front page of your store or to this link http://yourdomain.com/themeinstall/index.phpYou should see the message: "TEMPLATE HAS BEEN INSTALLED ON YOUR SYSTEM!" Otherwise please contact our support staff to get help.
3Activate default Skin and Install Sample Data
Go to Admin > Extensions > Modules > TG SUPERSTAR SETTINGS > Edit
You should see the image presented below: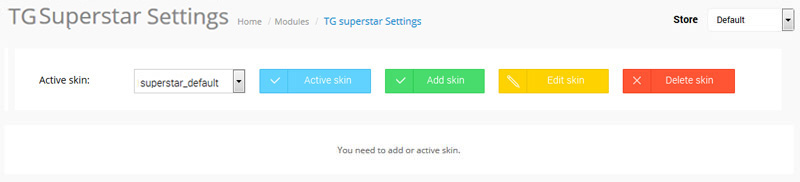
From the list choose the skin superstar_default and press the button Active skin.
After activating the skin you should see the image presented below:
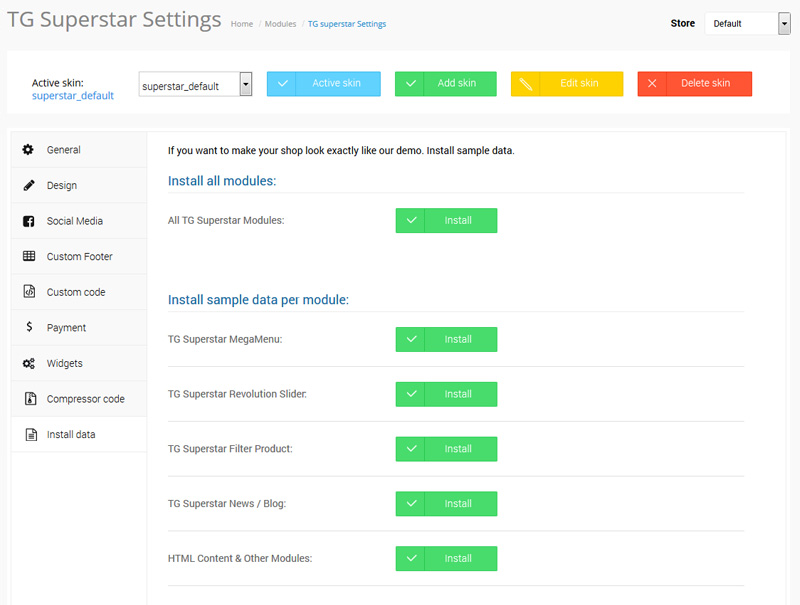
Go to Install Data tab and Press install button for the module you want with the sample data or click install for All TG SuperStar Modules to install all modules at once. After that click Save Button.
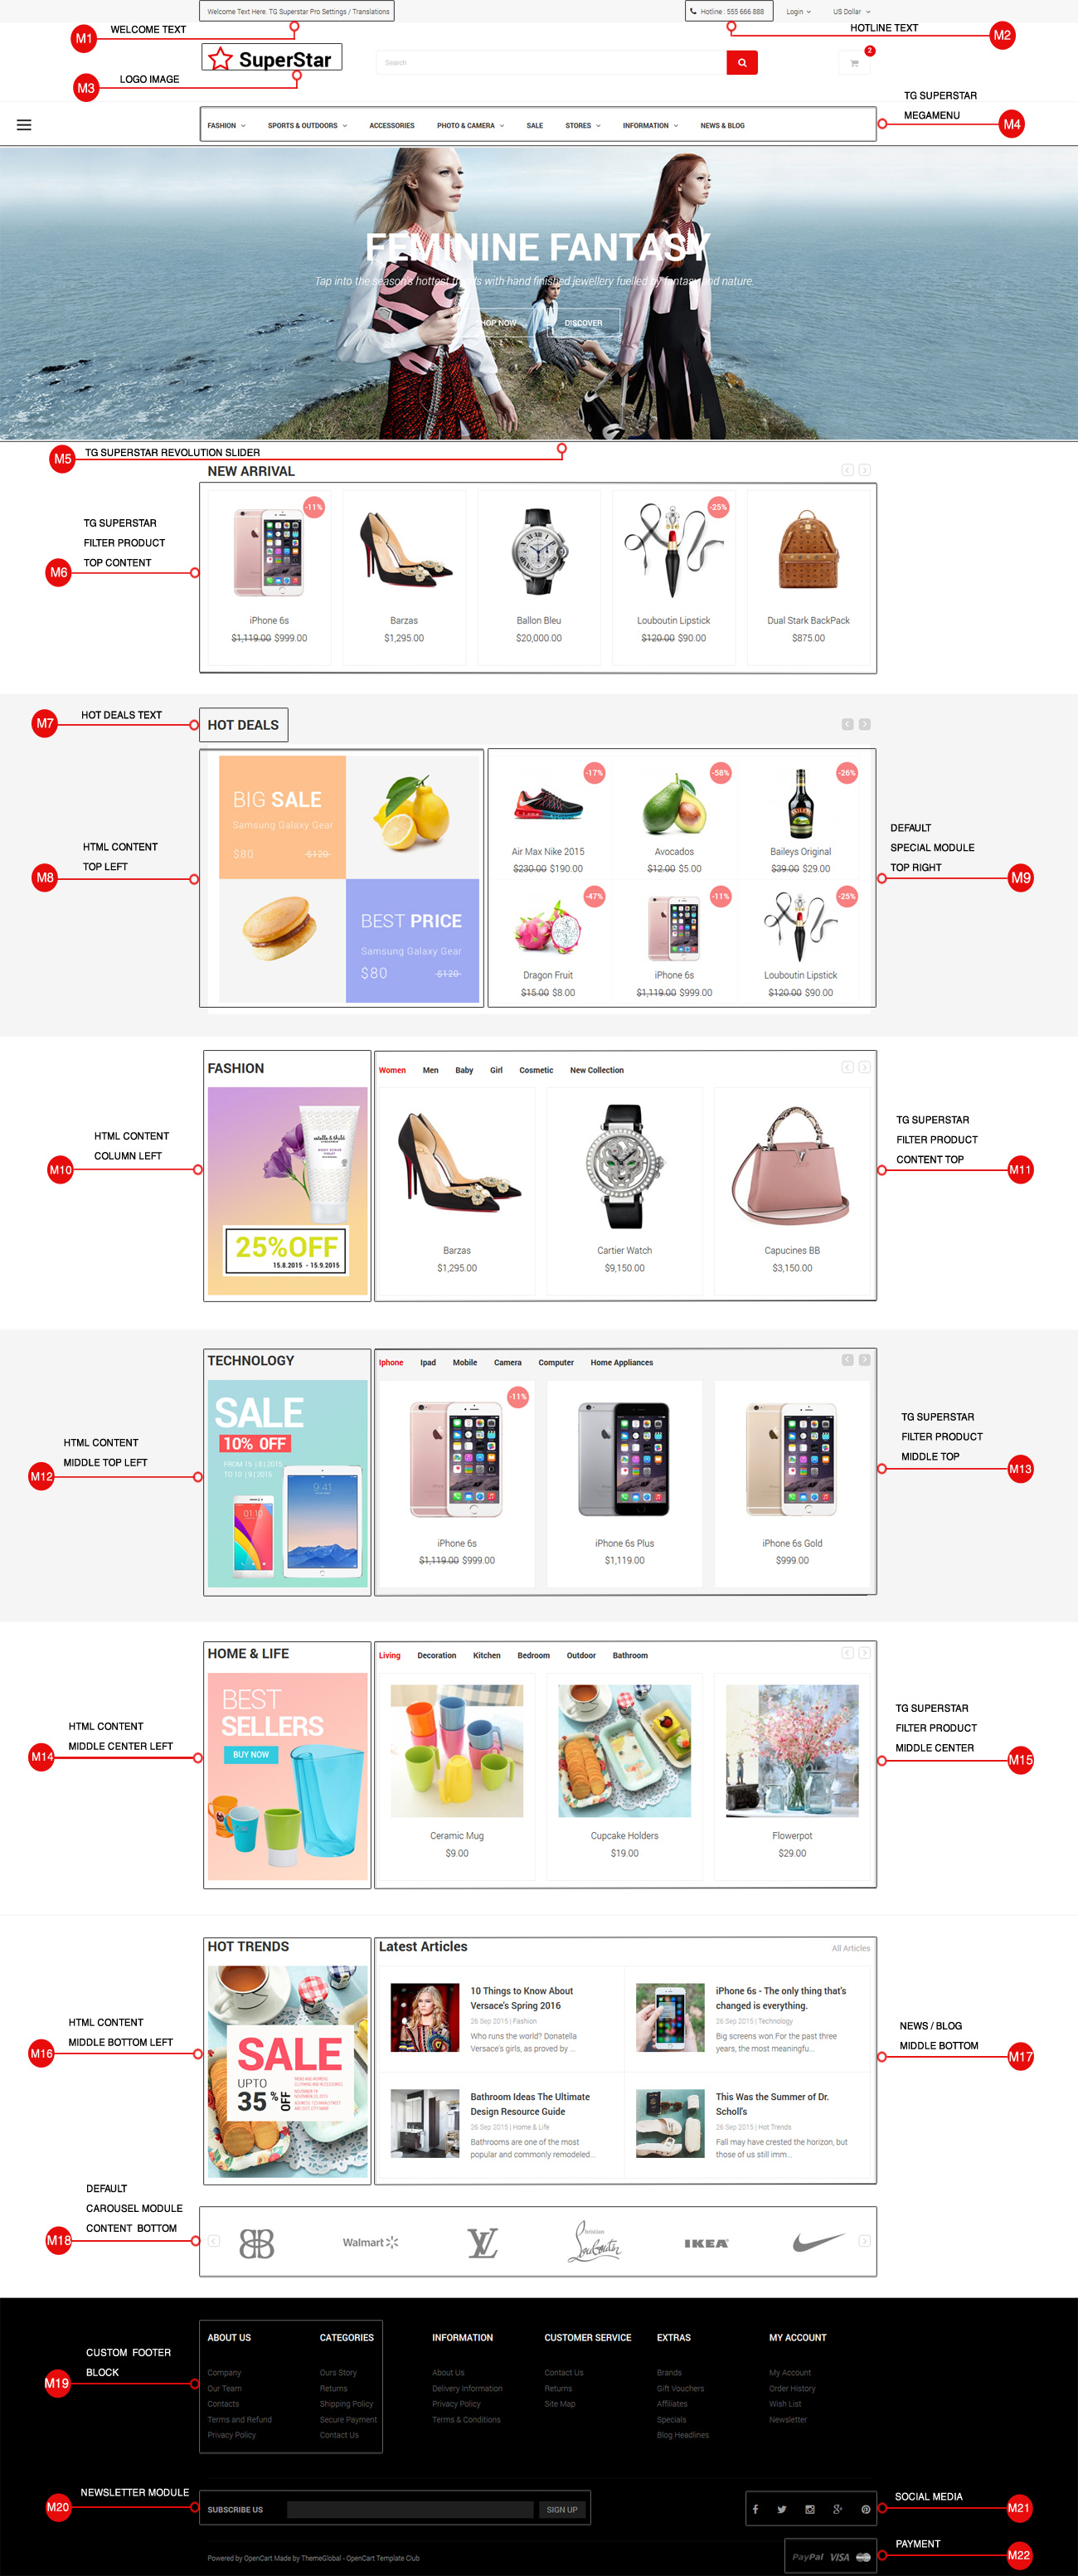
M1Welcome Text
You can change the text from Admin > Extensions > Modules > TG SUPERSTAR SETTINGS > Edit > tab General & Translations > Insert Header Welcome Text: > Save
M2Hotline Text
You can change the text from Admin > Extensions > Modules > TG SUPERSTAR SETTINGS > Edit > tab General & Translations > Insert Header Hotline Text: > Save
M3Logo Image
You can change the image from Admin > System > Settings > Edit your Store > tab Image > Click on Store Logo image > Upload your logo > Save
M4TG Superstar MegaMenu
This module allows you to manage your own header menu instead of the default menu very easily without coding knowlege required. When this module is disabled the Default Menu will show.
Here is the example how to create the category FASHION like in our demo site.1. Go to Admin > Extensions > Modules > TG Superstar MegaMenu > Edit > Create new item
Item setting
Content item
2. Creating a parent category FASHION. Add informations as below and click save.
3. Creating a submenu S1 Fashion (Sale) . Add informations as below and click save.
You can also add Products or Categories. In this case we go with HTML.
Change the HTML filed to code view mode and add the information below:
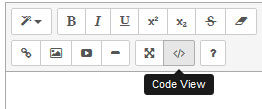
HTML -
4. Doing the same for submenu S2 Fashion (Clothing). Add informations as below and click save.
HTML -
5. Doing the same for submenu S3 Fashion (Accessories). Add informations as below and click save.
HTML -
6. Doing the same for submenu S4 Fashion (Catalogue). Add informations as below and click save.
HTML -
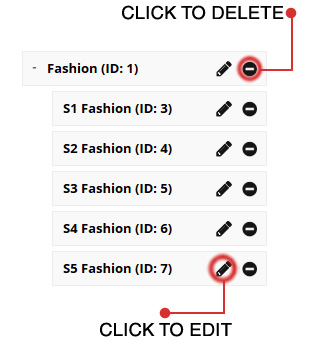
7. Doing the same for submenu S5 Fashion (Image), only with Content width - 4/12. Add informations as below and click save.
HTML -
8. Drag each submenu below the parent category like in the image below:
M5TG Superstar Revolution Slider
TG Superstar Revolution Slider is an all-purpose slide displaying solution that allows for showing almost any kind of content with highly customizable, transitions, effects and custom animations.
HOW TO SET SLIDERS:
1. Go to Admin > Extensions > Modules > TG Superstar Revolution Slider > Edit > tab Existing Modules > Create new slider
2. In general options set:
Recommended size for the slider is 1920(w) and 520(h).
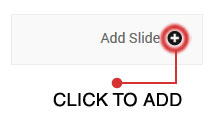
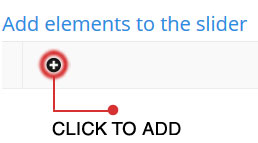
3. Than click on plus icon to add slide.
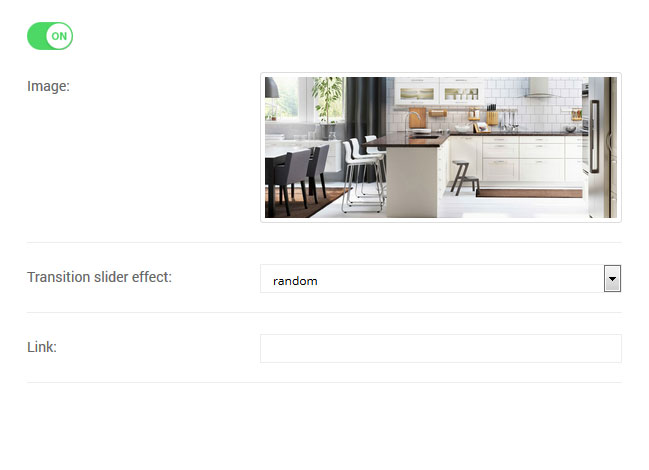
4. Upload your image, set status to enabled, select transition effect and add your link.
You should see the image presented below:
Add as many sliders as you want.
ELEMENTS SETTINGS:
For each Slider you can add a sub text or image elements.
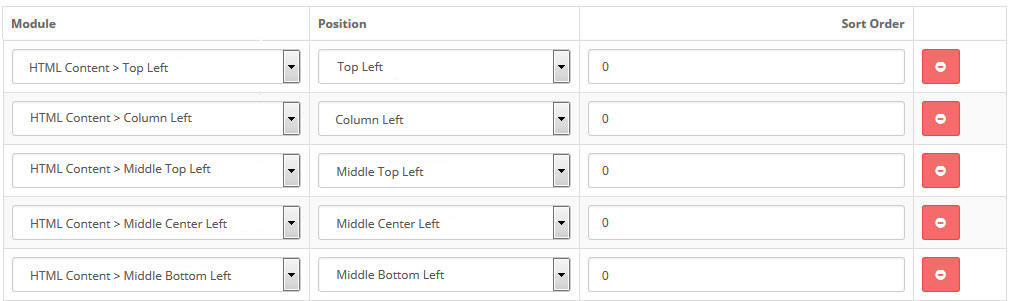
MODULE PLACEMENT:
After setting up Slider you need to add it in module placement.
1. Go to Admin > Extensions > Modules > TG Superstar Revolution Slider > Edit > tab Module placement > Add item
Adjust the settings with the following values and click Save.

M6 M11 M13 M15TG SuperStar Filter Product
Allows you to create your own custom product sections and name them whatever you want. You can add any number of products to any of them and place unlimited modules with different sets of products on different pages.
HOW TO ADD:
1.Go to Admin > Extensions > Modules > TG SuperStar Filter Product > Install or Edit > Add Module
MODULE TAB
2. Now you can add item as tab. For example in the demo site we added 6 items: Women, Men Baby, Girl, Cosmetic and New Collection. For each item you can choose where do you want to get product from: Latest Products, Special Products, Bestsellers Products, Manually choose any products or category with autocomplete suggestion
MODULE SETTING
M8 M10 M12 M14 M16 HTML Content
HTML Content is used to add any content (HTML) at any place on the webpage.
HOW TO ADD:
M8This is the example how to add the HTML Content > Top Left. Recommended size for the banner is 500(w) and 475(h).
Go to Admin > Extensions > Modules > HTML Content > Install or Edit
Adjust the settings with the following values and click Save.
Module Name - Top Left
Description -
Status - Enabled
M10 For HTML Content > Column Left. Recommended size for the banner is 600(w) and 778(h).
Module Name - Column Left
Heading Title - Fashion
Description -
Status - Enabled
M12 For HTML Content > Middle Top Left. Recommended size for the banner is 600(w) and 778(h).
Module Name - Middle Top Left
Heading Title - Technology
Description -
Status - Enabled
M14 For HTML Content > Middle Center Left. Recommended size for the banner is 600(w) and 778(h).
Module Name - Middle Center Left
Heading Title - Home & Life
Description -
Status - Enabled
M16 For HTML Content > Middle Bottom Left. Recommended size for the banner is 600(w) and 795(h).
Module Name - Middle Bottom Left
Heading Title - Hot Trends
Description -
Status - Enabled
Add HTML MODULES to Home Layout
Go to Admin > System > Design > Layouts > Edit Home
Adjust the settings with the following values and click Save.
M17News/Blog
The news/blog module is not included in the template. If you want to use it on your webpage, you need to purchase the module below. It is just $12 and is one of the best blog module on the market.
http://shopencart.com/opencart-2.x-modules/news-blog-opencart-1.5
You don't have to modify the module to fit the template. Just follow the installation instruction included in the module and your blog will look exactly the same as in demo version.
M19Custom Footer Block
You can change the content from Admin > Extensions > Modules > TG SUPERSTAR SETTINGS > Edit > tab Custom Footer > Add information for Custom Footer 1 Block or Custom Footer 2 Block > Save
M21Social Media
You can change the content from Admin > Extensions > Modules > TG SUPERSTAR SETTINGS > Edit > tab Social Media > Add information and set status to ON > Save
M22Payment
You can change the content from Admin > Extensions > Modules > TG SUPERSTAR SETTINGS > Edit > tab Payment > Add item > Upload your payment image > Save
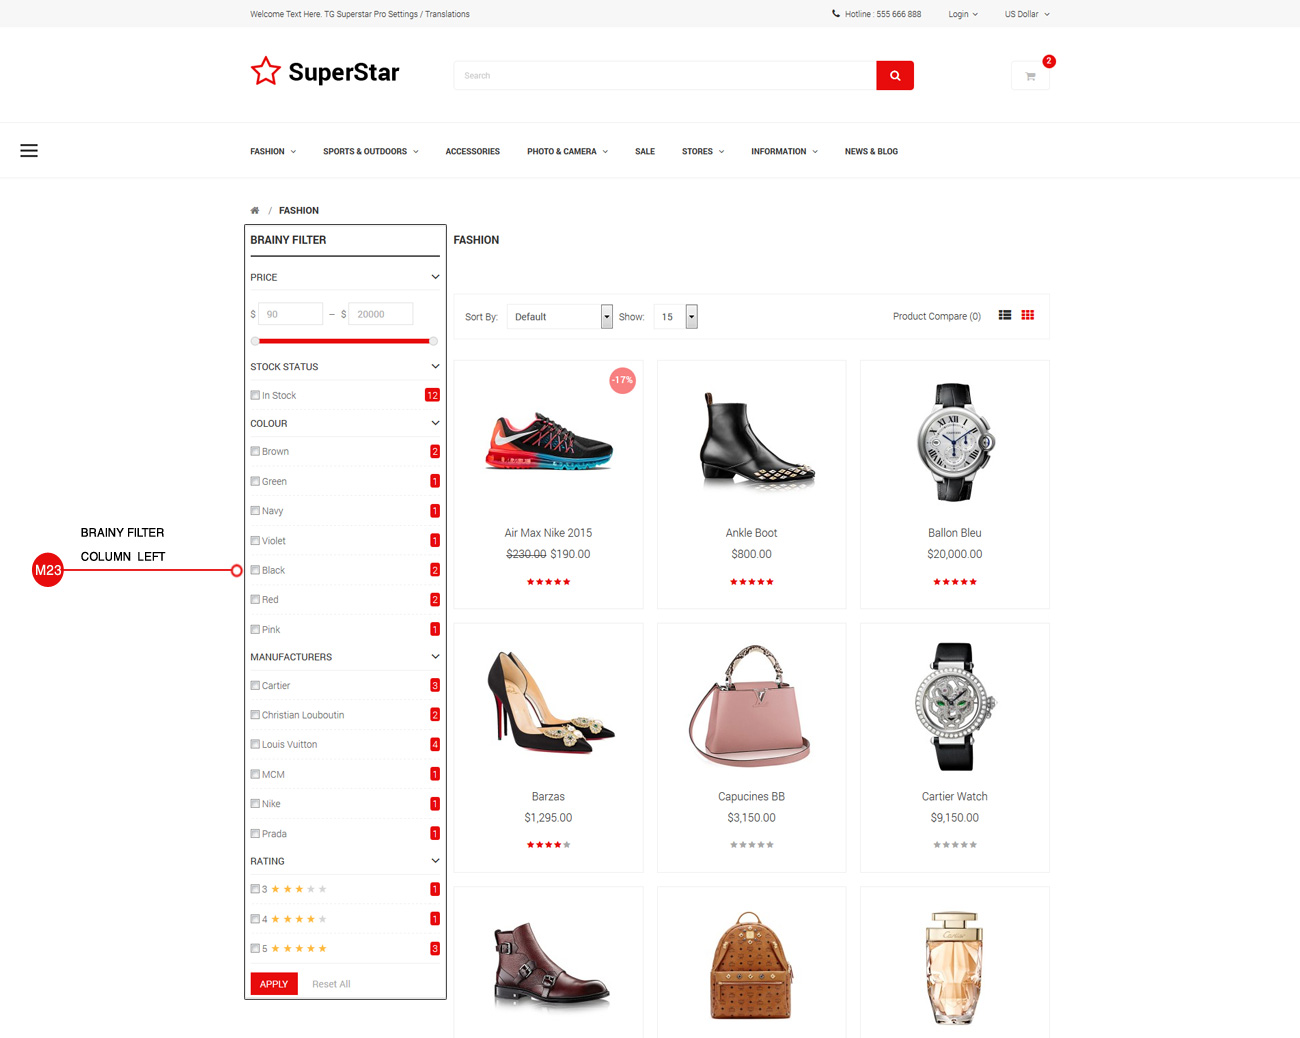
M23Brainy Filter
The Brainy Filter module is not included in the template, just integrated with the theme. If you want to use it on your webpage, you need to purchase the module below. It is one of the most advanced & elegant Filter module on the market.
Brainy Filter
You don't have to modify the module to fit the template. Just follow the installation instruction included in the module and your module will look exactly the same as in demo version. Or contact our support staff to get help.
M24Sidebar Menu
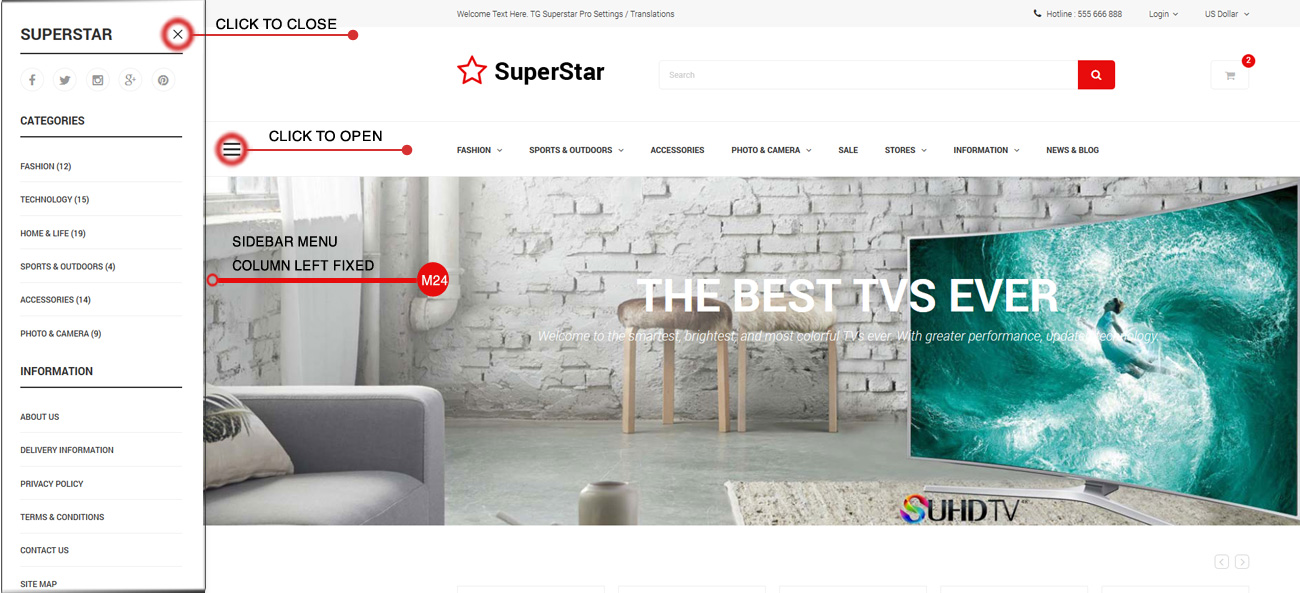
You can add any modules to the Sidebar Menu. The position for Sidebar Menu is Column Left Fixed.